
Ledger Live Staking: A How-To Guide


What is staking?
Before we understand staking, let’s first briefly cover what a consensus mechanism is. In blockchain technology, the latter refers to a distributed computer system implemented in a network to agree on certain datasets.
When a block is created in the chain, a transaction must follow the consensus mechanism’s guidelines for approval. Proof-of-stake (PoS) automatically validates these blocks according to the size of the staked tokens held by the network participants.
It’s the most popular alternative to mining or proof-of-work (PoW) because this method doesn’t require expensive and power-consuming equipment to confirm transactions.
This factor means staking is much more environmentally friendly and less labour intensive. It makes it possible to earn rewards passively on your crypto assets with little work.
While PoS uses a pseudo-random process, you have more chances of being selected the larger your stake in the token in question is. Examples of blockchain employing proof-of-stake include Solana, Cardano, Polkadot, Avalanche and countless others.
Finding the best staking rates
Staking rates can be very different whether if you put your funds on a Ledger or on CeFi, CeDeFi or DeFi exchanges.
Make sure to always find the best crypto staking rates for any of your coin by using this free comparator.
How staking works on Ledger Live
Ledger Live is a mobile and desktop-based application for owners of all Ledger devices to perform several operations, of them being staking.
You must own a Ledger wallet to fully access the interface, which must be synchronised to the app. Let’s go over the main points of staking on Ledger Live.
If you don't have one yet, buy a Ledger Live.
Creating an account for the coin you want to stake
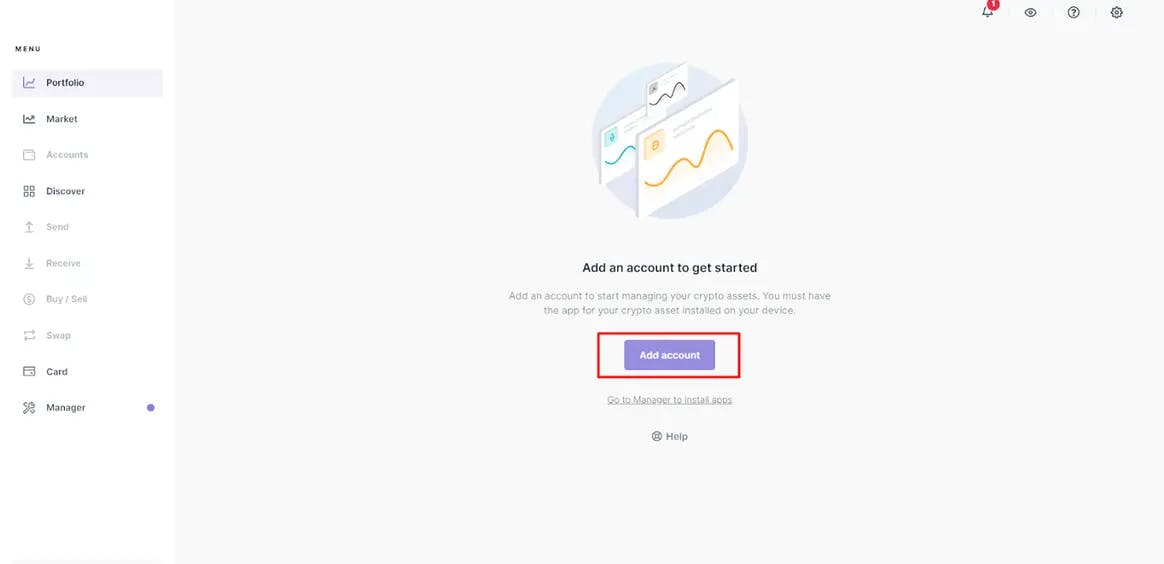
On the menu, you will click on the ‘Portfolio’ tab, taking you to a place to add an account. For our illustration, we’ll use XTZ or Tezos.
Of course, the process is quite similar to all the compatible tokens. After clicking ‘Add account,’ the next page should look like this:
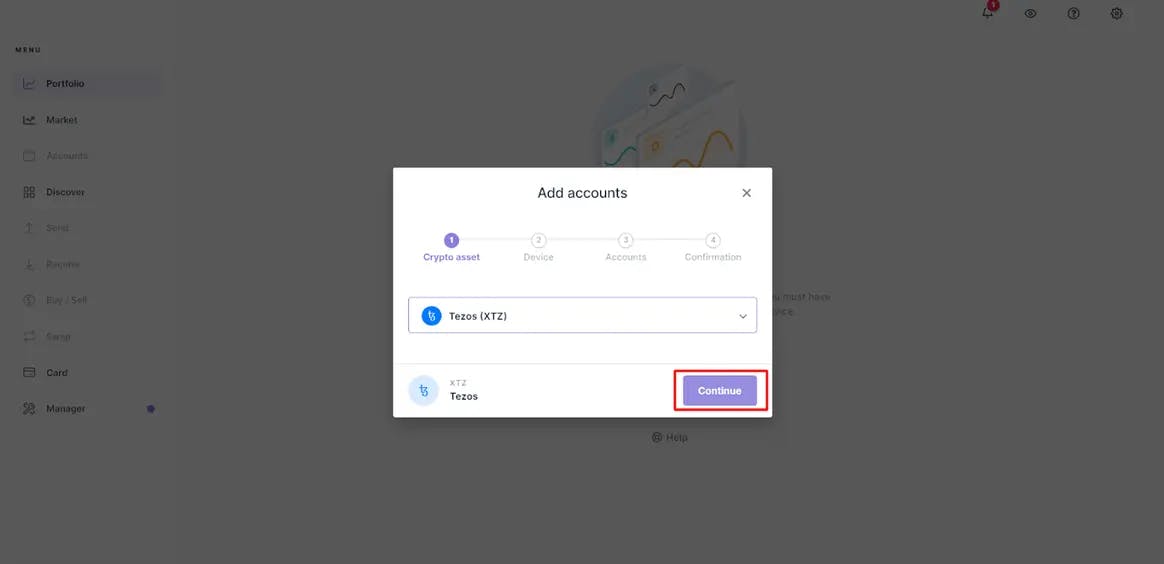
At this stage, you search and choose the token you want (in this case, Tezos) from the list before clicking ‘Continue.’ The program then installs the coin’s app on your device.
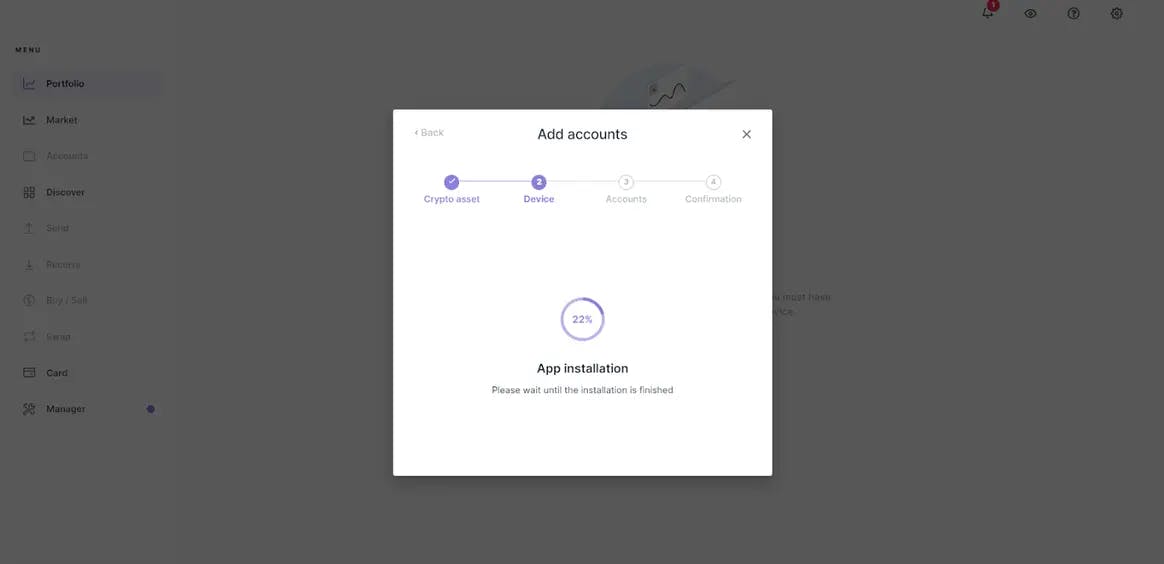
Once the app is installed, Ledger Live will instruct you to check your wallet.
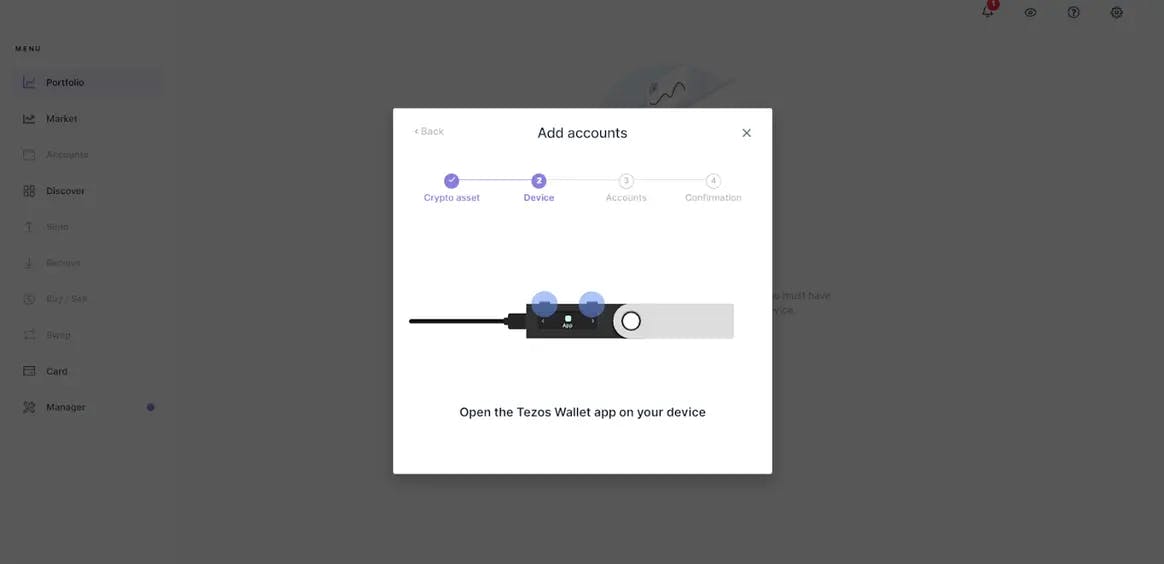
At this point, you should receive the following message on your device:
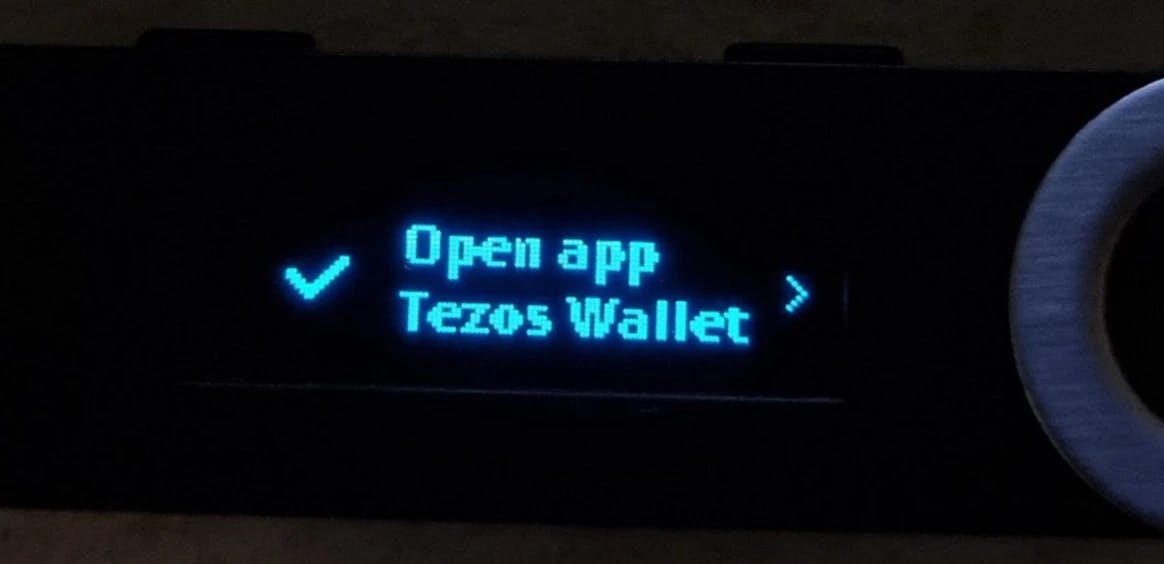
After clicking on the screen, you should see this next communication on the wallet:
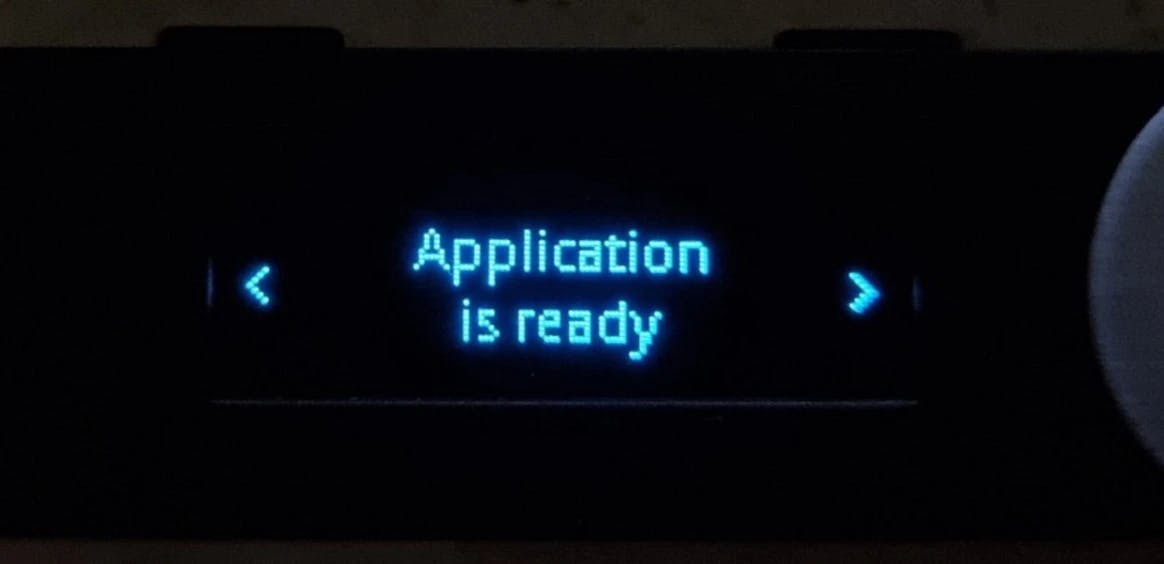
Next, Ledger Live asks you to name this account. For illustrative purposes, we named this one ‘Tezos 1’ but, of course, you can call it whatever you prefer. After that, you press ‘Add account.’
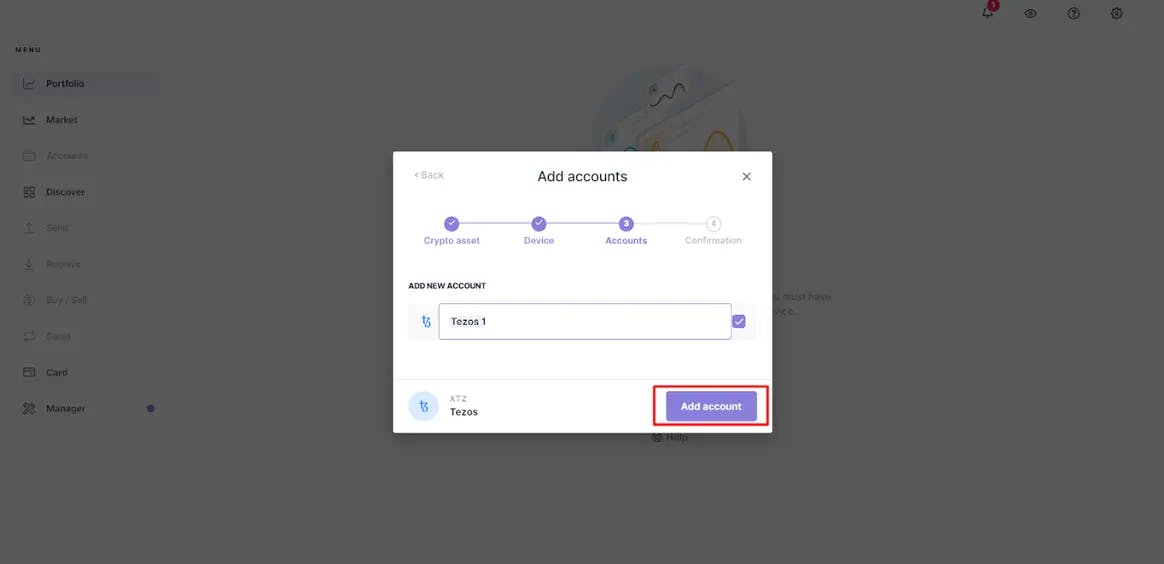
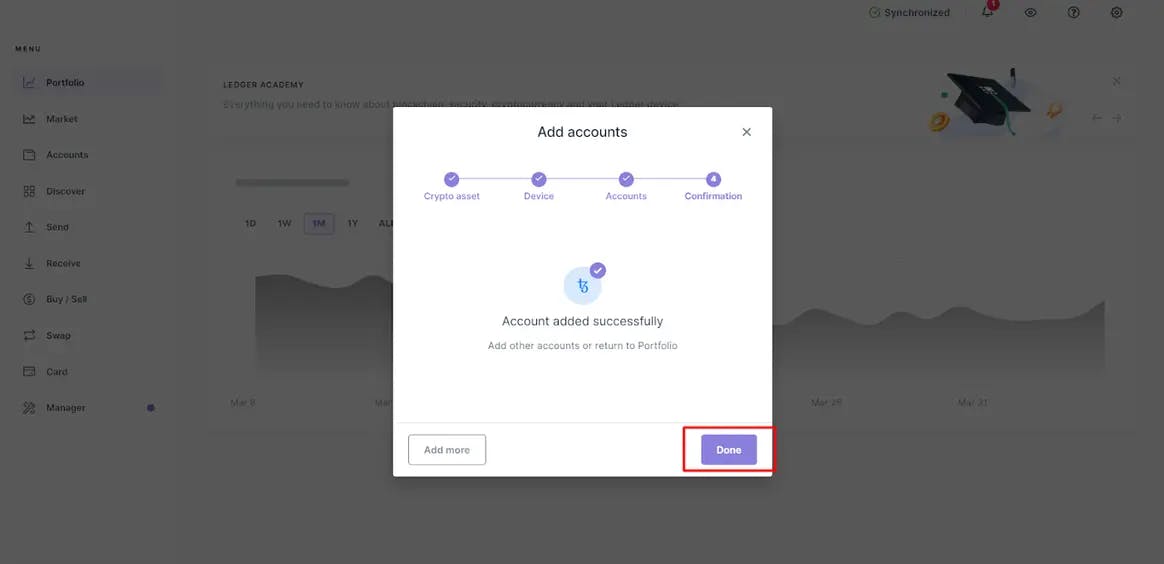
The final step shows you that the account has been added successfully. Here, you simply click ‘Done.’
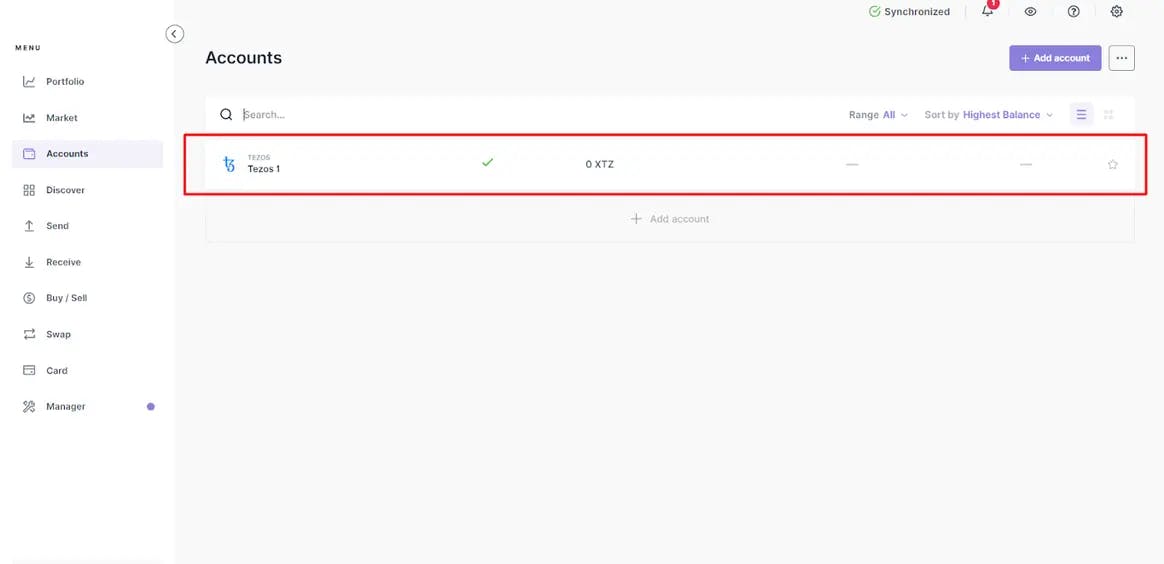
You can see this newly created account on the main menu options by clicking on ‘Accounts.’
Buying crypto through Ledger Live or transferring funds to your Ledger device
The next stage is funding your account. You have two options:
- buying directly on Ledger Live (via MoonPay, Coinify or Wyre)
- buying from an external exchange (like Coinbase and Binance) and transferring to your wallet
The former option is the most straightforward and secure of the two. Alternatively, if you prefer buying from an exchange, you’ll need the public address linked to your account.
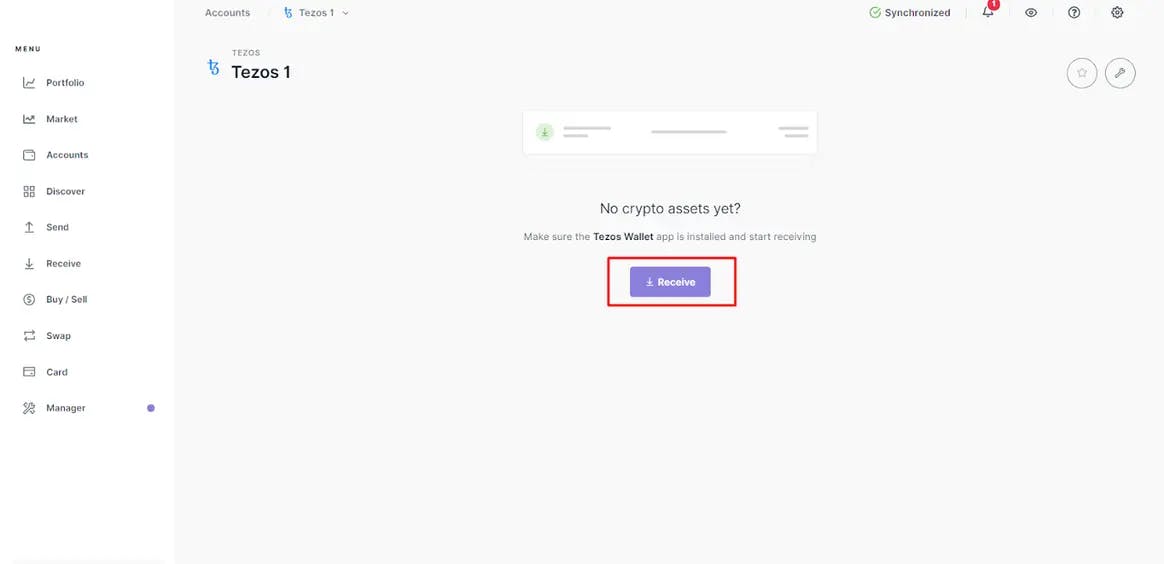
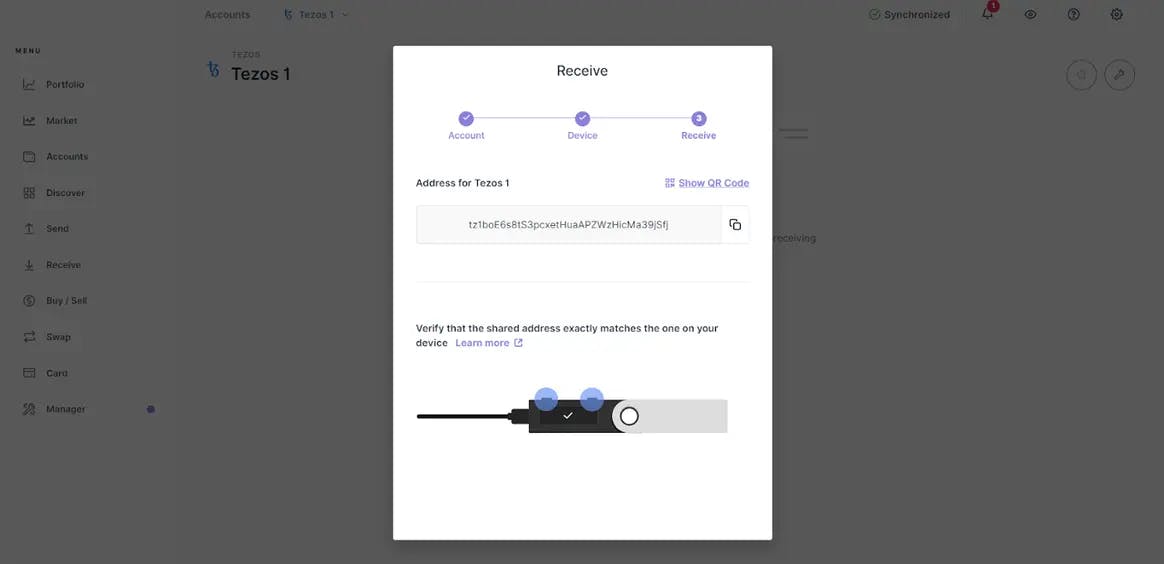
Going back to our Tezos example, you head over to your account and click ‘Receive.’
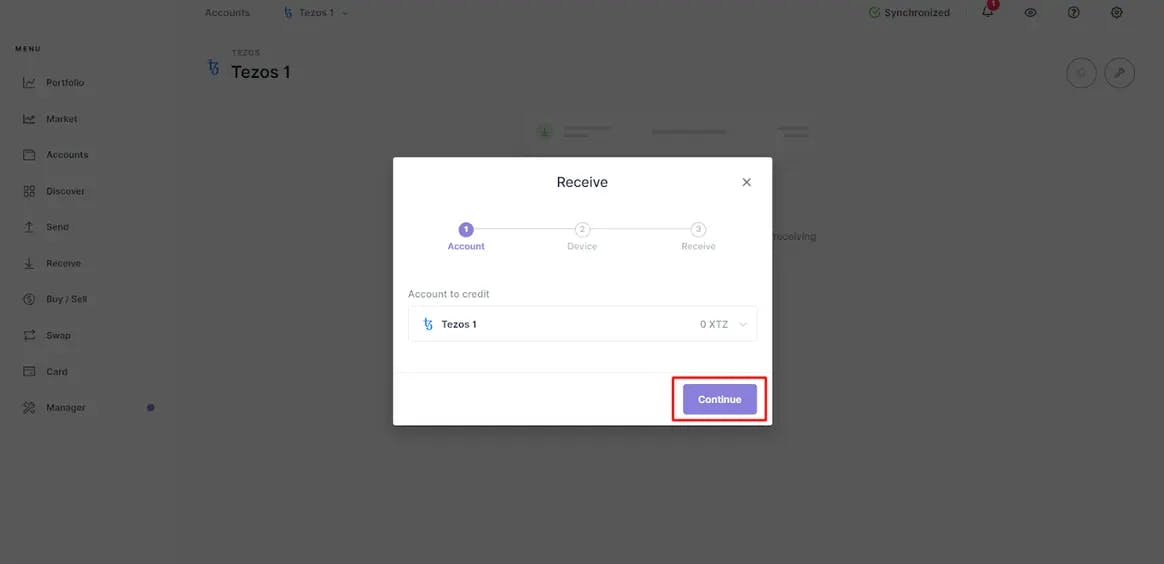
Then you’ll see a dropdown box showing all your available accounts. You would choose the one linked to your desired coin (in this case, Tezos 1) and select ‘Continue.’
After this step, Ledger Live provides the public key, which you can copy or view as a QR code. Users would need this address when using the exchange to send funds to their account.
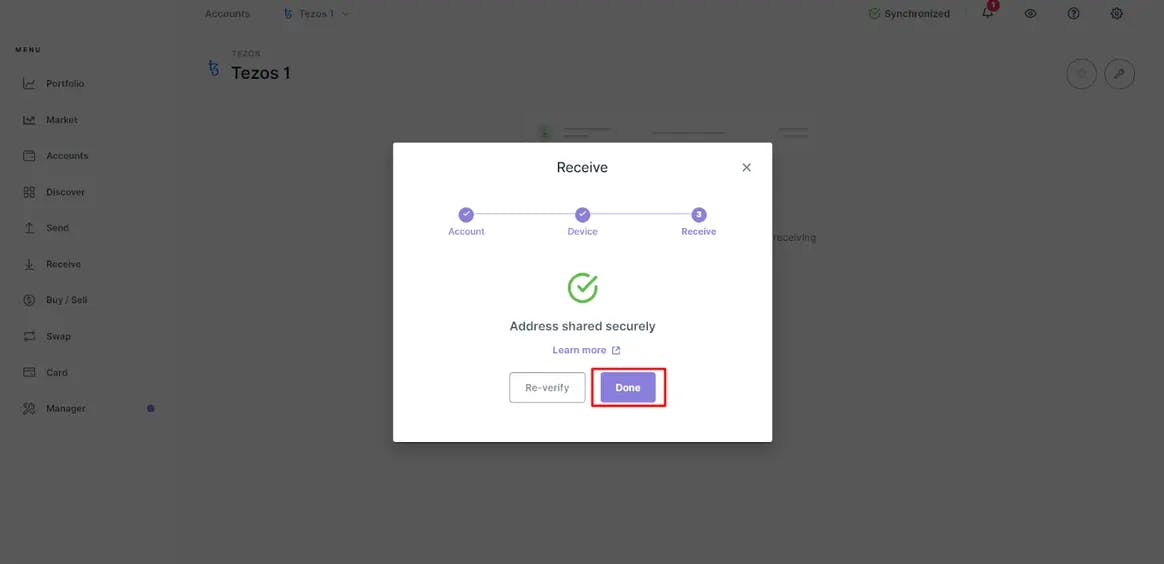
Once you’ve confirmed the sharing request on your device, you click on ‘Done’ as shown below.
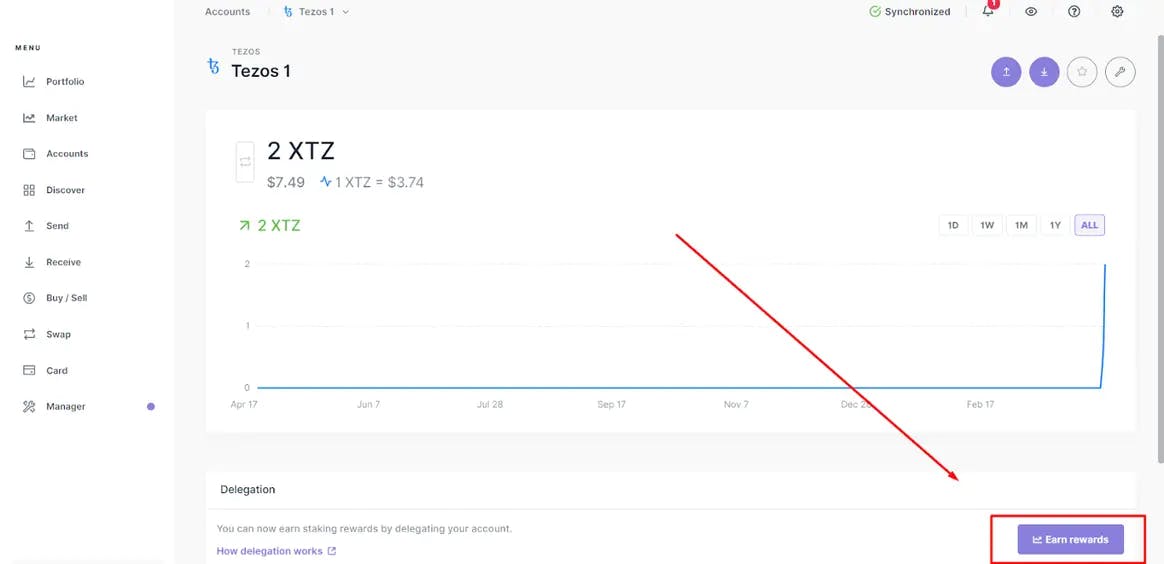
Clicking the ‘Earn rewards’ button
Once you’ve received funds, you should see them in your account. Here, the ‘Earn rewards’ option becomes available:
The next screen that shows up directs you to delegate your XTZ. In proof-of-stake, delegation is where a number of validators pool their assets to a reputable third-party delegate (also known as witness or block producer).
This staking service provider performs the staking on behalf of each contributor. In turn, they split the rewards of the block transaction cost across all the validators, minus a fee.
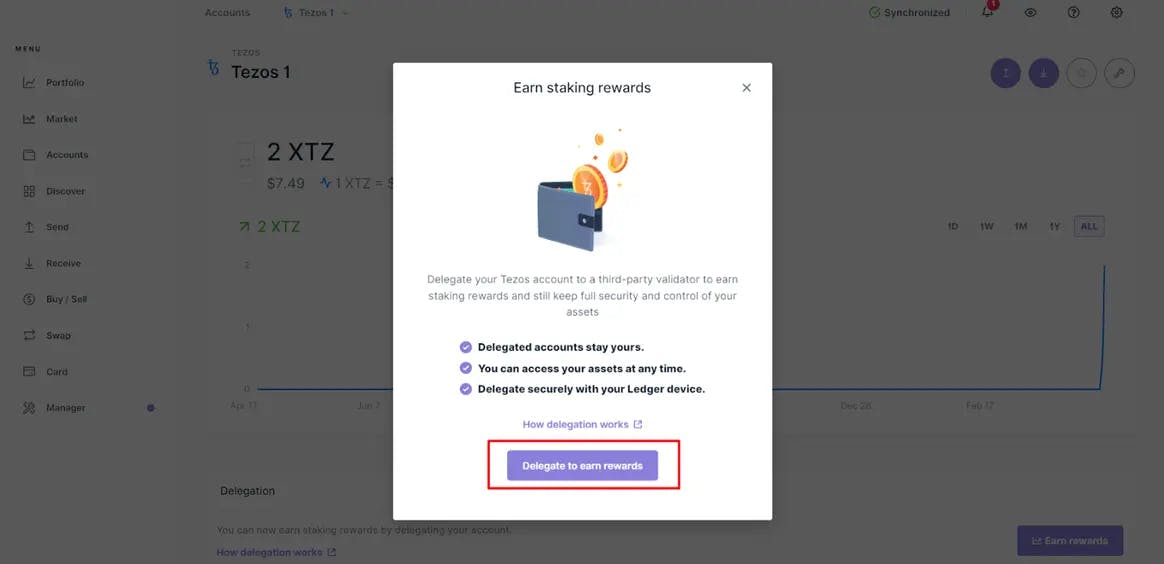
It’s worth noting that not all PoS blockchains use delegation. Nonetheless, after selecting ‘Delegate to earn rewards,’ Ledger Live allows you to view a list of block producers with their estimated yearly yields and other stats.
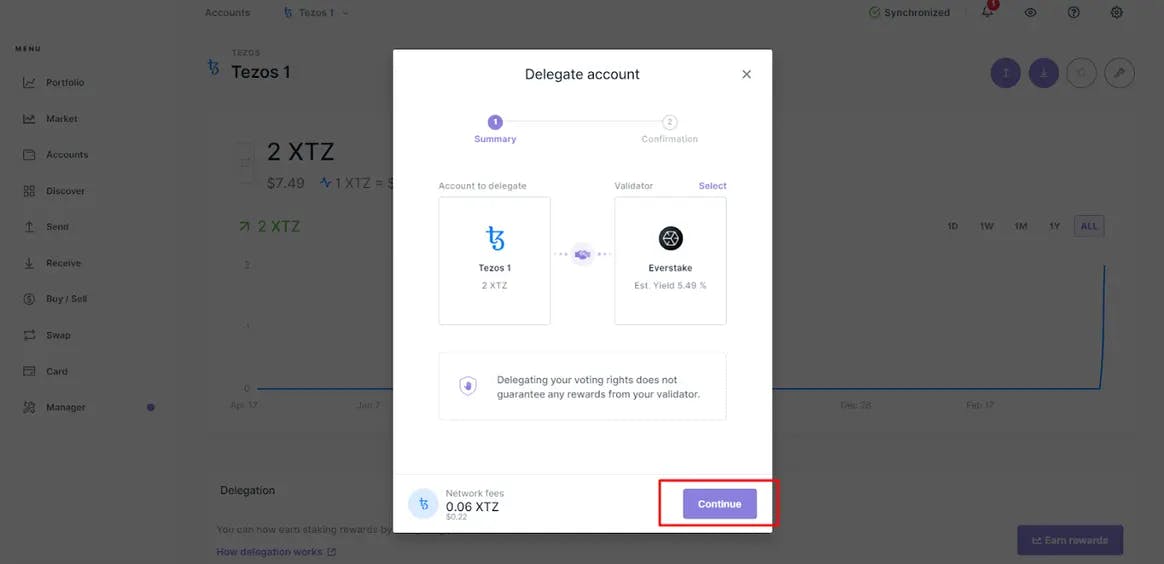
Start earning
Finally, Ledger Live prompts you to finalise the transaction on your device after selecting your desired staking service provider.

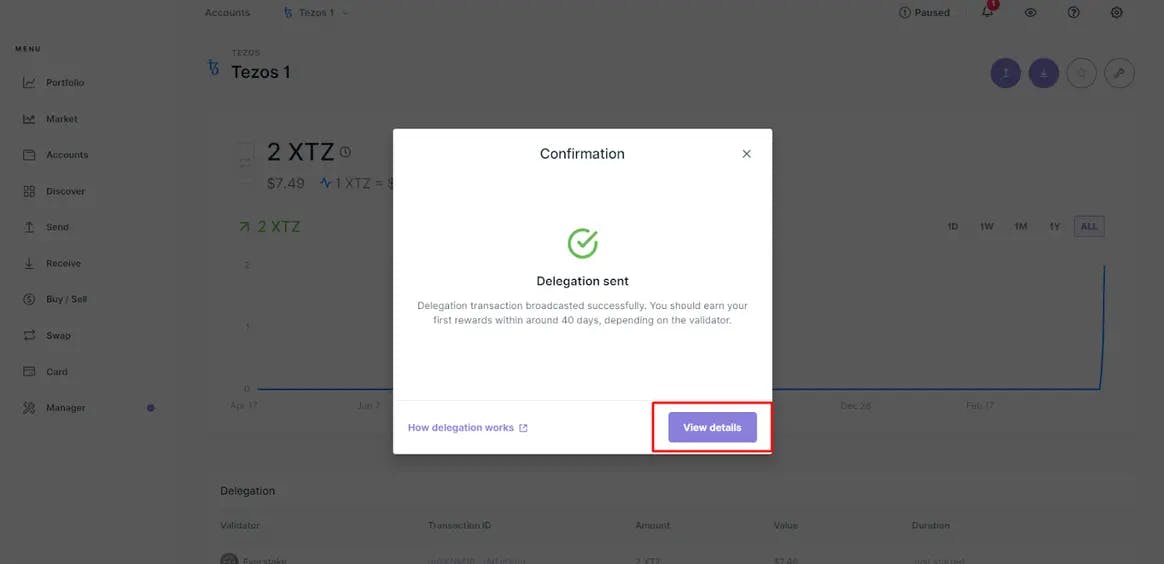
With most staking blockchains, you don’t earn immediately until after a few weeks. Following this stage, you can expect rewards every day or a few days transferred directly to your account.
The cryptocurrencies available for staking on Ledger Live
Ledger Live supports numerous 32 cryptocurrencies for staking, namely:
- Ethereum (ETH)
- Tezos (XTZ)
- EOS (EOS)
- Cardano (ADA)
- Solana (SOL)
- Avalanche (AVX)
- Kusama (KSM)
- Tron (TRX)
- Cosmos (ATOM)
- Algorand (ALGO)
- Polkadot (DOT)
- Polygon (MATIC)
- Polymath Network (POLY)
- Symbol (XYM)
- Edgeware (EDG)
- LTO Network (LTO)
- DOCK (DOCK)
- Centrifuge (CFG)
- Particl (PART)
- Nervos Network (CKB)
- Casper (CSPR)
- Wanchain (WAN)
- Ark (ARK)
- Terra (LUNA)
- Neo (NEO)
- Internet Computer (ICP)
- Elrond (EGLD)
- NEAR (NEAR)
- Stacks (STX)
- Waves (WAVES)
- Nem (XEM)
- Cronos (CRO)
The benefits of staking through Ledger Live
Several advantages exist by staking with Ledger Live.
-
The most significant benefit is high security. Because Ledger is a hardware or ‘cold’ storage wallet, you keep all your crypto assets offline, making them less susceptible to online vulnerabilities.
Also, you retain the private keys rather than relying on an exchange to keep them for you.
-
Ledger supports a growing list of cryptocurrencies on one platform, offering you convenience and a wide variety.
-
Ledger also operates as an exchange, allowing you to buy and sell thousands of coins from numerous blockchains.
-
With Ledger Live, you gain access to the Ledger Academy. This is an educational platform to learn about numerous concepts related to crypto like blockchains, DeFi (decentralised finance), NFTs (non-fungible tokens), etc.
Furthermore, it keeps users updated on the freshest trends in the industry.
Convinced?
Buy a Ledger Live now
Ecrit par Langa Ntuli and Martin Ratinaud